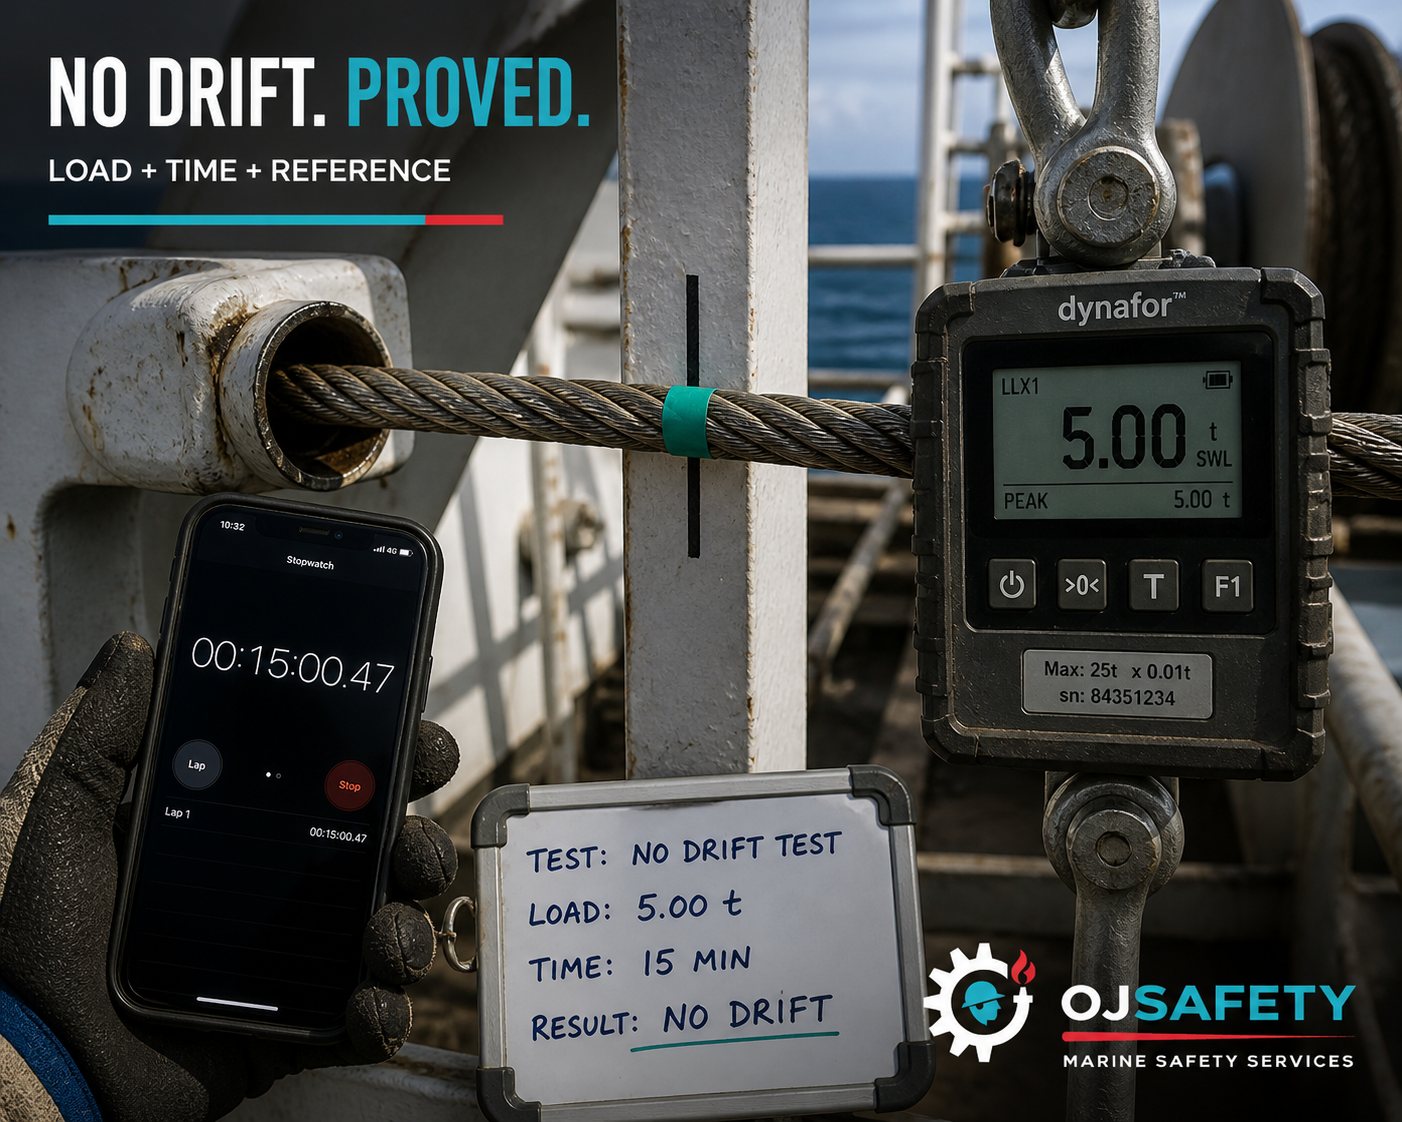
If you’ve done enough LSA work, you know this moment.
The test looks fine. The brake feels solid. Everyone on deck is calm.
Then the surveyor asks: “Can you prove no drift?”
And suddenly the whole job turns from “routine” into “show me.”
Because “no drift” is one of those phrases that can waste half a day if your proof is weak. Not because the brake is necessarily bad, but because your evidence leaves room for doubt. And surveyors don’t like doubt. They like boring certainty.
So here’s the simple way to make “no drift” unarguable, without turning the deck into a science lab.
First: what “no drift” really means
Forget the poetry. “No drift” means:
- you applied the required test load
- you held it for the required time
- the winch did not creep
- and you can show it clearly
That last line is the whole game.
If you can’t show it, you don’t “fail the brake.” You fail the acceptance.
The three things you must record (everything else is just support)
If your report proves these three, arguments usually die fast:
- Load value (what was applied)
- Hold time (how long it was held)
- Drift result (how you proved no movement)
People get distracted by extra details. Don’t. Nail these three and you’re safe.
Load: don’t hide the number
Use your normal method (load cell, water bags, calibrated weights). But the rule is the same: the load must be visible and traceable.
What you need, minimum:
- one clear photo of the device reading at test load (close-up, readable)
- one photo that shows the device is connected correctly (context shot)
- the device ID and calibration validity in the report (or photo of the serial/calibration label)
If the number is not readable on the photo, the number doesn’t exist.
This is where a lot of “but we did it” arguments start.
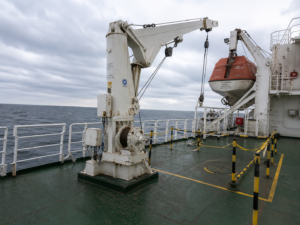
Full davit test setup with isolated safety zone before load testing under MSC.402(96).
Hold time: don’t “say” it, show it
Surveyors hate “held for 5 minutes” when there’s no proof. They shouldn’t trust it. Neither should you.
So show it. Two frames are enough:
- start of hold: load reading + a timer/clock visible
- end of hold: same setup + timer/clock visible again
A phone screen with time is fine. A stopwatch is fine. The ship’s clock is fine.
The only thing that is not fine is “we watched it.”
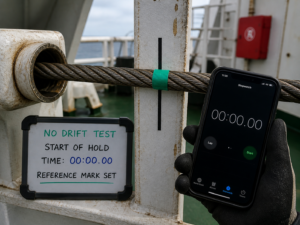
Start of brake holding test: reference mark set, timer started.
Drift: measure against something that doesn’t move
This is where most people mess up.
They look at the wire and say: “It didn’t move.”
Then the surveyor looks at the same wire and says: “How do you know?”
You fix that by using a fixed reference.
The fast, clean method
Pick a fixed point and make a clear mark:
- choose a point where the wire passes a fixed structure (fairlead, guide, sheave area, a frame edge)
- place a visible tape marker on the wire
- or mark a reference line that crosses the wire and a fixed surface
Then you take two photos:
- mark position at start of hold
- mark position at end of hold
Same angle. Same distance. No “creative photography.”
If the mark is in the same position, “no drift” becomes obvious.
Make it hard to argue
Add one simple extra:
- a ruler or measuring tape in the frame, or
- a sharp alignment line that crosses two surfaces
Now the evidence is visual and measurable. Surveyors calm down quickly when they can see it.
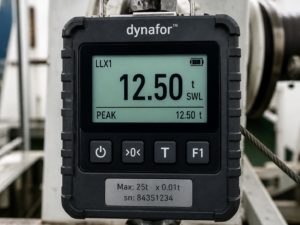
Precise load measurement during davit testing – evidence for class acceptance.
The photo sequence that passes first time (copy this)
If you want the “safe pack,” you need 7 photos. That’s it.
- setup overview (safe area, isolation, load path)
- load device connection (context shot)
- load reading close-up at test load (readable)
- start of hold: timer visible + drift mark visible
- end of hold: timer visible + same drift mark visible
- after unloading: quick condition check (drum/brake area/reeving)
- instrument ID + calibration reference (photo or annex)
This sequence saves time because the report becomes self-explanatory.
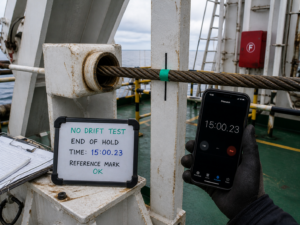
End of holding test: no movement confirmed after timed load application.
If drift happens: don’t panic, check the usual suspects
If you actually see drift, it’s usually one of these:
- brake glazing
- contamination (oil/grease where it shouldn’t be)
- worn lining or poor adjustment
- incorrect reeving or uneven drum layers
- shock loading due to bad control technique
- friction points that make movement look worse than it is
The wording that closes the case in the report
This is another quiet killer: vague report wording.
Bad wording:
- “Brake tested OK”
- “No drift observed”
- “Test carried out successfully”
Good wording (simple, factual):
“Brake hold test performed at [LOAD] for [TIME]. Drift reference mark verified: no movement between start and end of hold. Load device [ID], calibration valid to [DATE]. Photo IDs: [###–###].”
That single sentence removes ambiguity. It tells the reviewer exactly what matters.
Why this matters for off-hire
Brake-hold disputes waste time. And time in port is expensive.
Weak proof leads to:
- extra questions
- repeat tests
- delayed endorsements
- and a vessel sitting there politely losing money
A clean “no drift” pack protects the schedule. That’s the whole point.
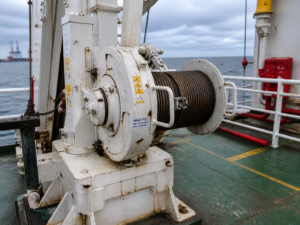
Post-load inspection of brake system and rope condition.
Bottom line
If you want “no drift without arguments,” stop trying to convince people with words.
Convince them with:
- a readable load value
- a visible timer
- a fixed reference mark
- and two photos from the same angle
Simple. Boring. Accepted.